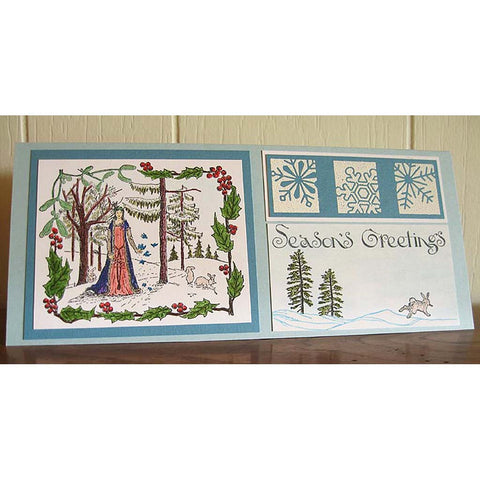
Holiday Window Card

| Ink up your Winter Scene Frame stamp with a raised black ink pad and stamp it on the front side of your 5 x 7 card. One trick I like to do with larger stamps is to fully ink the rubber up, let it dry a bit and then ink it up a second time and then stamp it. By doing that you allow for some of the first layer of ink to be absorbed into the rubber and the second inking will make sure you have a good amount of ink on the surface for a perfect impression. Also make sure to press each edge, each corner and especially the middle without moving your stamp at all to ensure you get the entire image stamped well. |
 |
| Punch your 2" circle punch in the empty area near the bottom punching through the front cover of the card only. It helps to turn your punch upside down so you can see what you're doing. Make sure if you haven't used a punch upside down before that you first try it on some scrap paper. | 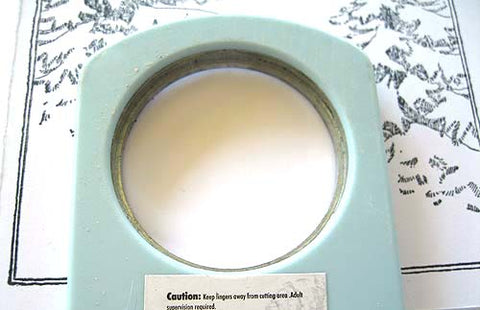 |
| With your card closed, mark along the left hand side of the punched area. I put three marks down so I could see the curve. |
 
|
| I've cheated and marked my stamp with a felt pen. I marked off so I knew where the two squirrels were because I only want them showing through the punch. |  |
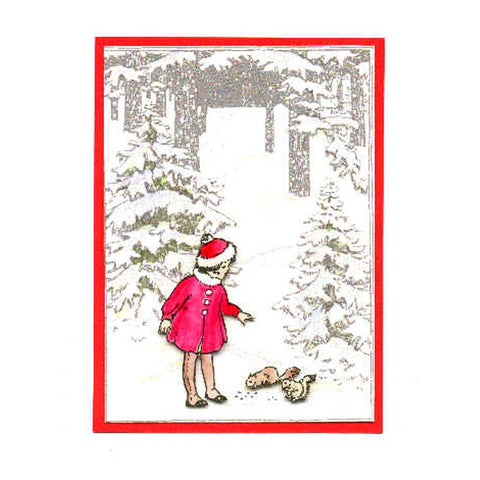
| Use the mark on your stamp and the marks on the card to position the Feeding the Squirrels stamp. Once you've stamped your image you can erase your pencil marks. Stamp the Watching Moon above the girl. You may want to stamp it on scratch paper first so you get him at the correct angle to look at the girl. Also stamp the Season's Greetings at the top. |  |
| Using some colored pencils, I've done some minimal coloring of just the tree branch edges in dark green, the tree trunks in dark brown and the frame in burgundy. |  |
| I kept it simple inside too by doing just some minimal coloring of the moon, the girl and the squirrels. |  |

Winter 502R
$ 17.25
4 1/2" x 6 1/2"
- Unmounted: Rubber die only
- Cling Mount: Rubber die on cling foam cushion closely trimmed (block not included)
- Wood Mount: Red rubber die with black foam cushion on a white maple wood mount
Click "View full product details" to see slideshow of artwork using this stamp.

Feeding Squirrels 569I
$ 5.50
2 1/2" x 2 1/4"
- Unmounted: Rubber die only
- Cling Mount: Rubber die on cling foam cushion closely trimmed (block not included)
- Wood Mount: Red rubber die with black foam cushion on a white maple wood mount
Click "View full product details" to see slideshow of artwork using this stamp.

Season's Greetings 1451H
$ 5.00
3 3/4" x 3/4"
- Unmounted: Rubber die only
- Cling Mount: Rubber die on cling foam cushion closely trimmed (block not included)
- Wood Mount: Red rubber die with black foam cushion on a white maple wood mount
Click "View full product details" to see slideshow of artwork using this stamp.
Watching Moon 401D
$ 3.75
1 1/2" x 1 1/2"
- Unmounted: Rubber die only
- Cling Mount: Rubber die on cling foam cushion closely trimmed (block not included)
- Wood Mount: Red rubber die with black foam cushion on a white maple wood mount
Click "View full product details" to see slideshow of artwork using this stamp.